Backing Up Your Payroll Data
It is important that you make regular back up files of your payroll companies. You can choose to back up to the hard drives of your machine, an external hard drive or even to memory keys. It is recommended that you back up to a removable storage device and that you alternate disks.
Payroll is pre-set to select all companies for back up. The file name default is “Payroll 20XX Backup Made on 01 Jan 20XX at 12.00.bkz” or whatever the time and date you do the backup happens to be. You can change this to any name you wish, but it is advisable to leave the file name as is, because it will make it easier to identify the most recent backup, if needed.
To create a backup, click on the backup button on the main task bar and the following screen will be displayed.

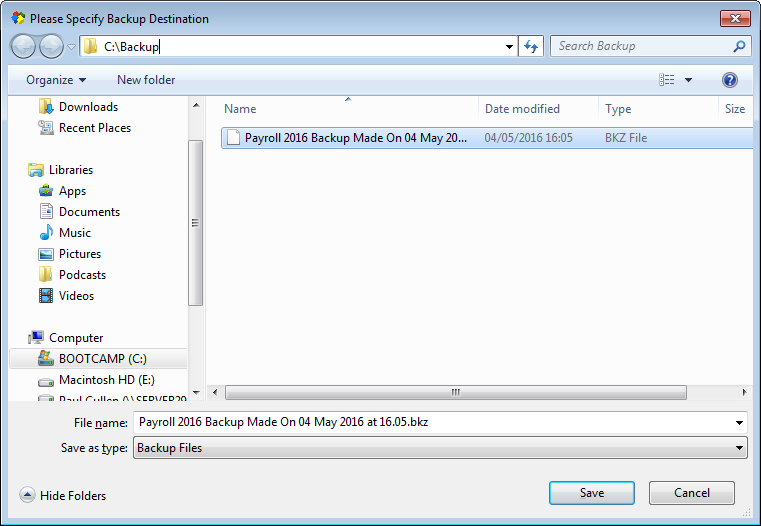
Backup Data: Select Location to Save Backup
Firstly you need to select the location that you would like to save your backup to, by browsing to the location in the Backup Destination screen, as shown above. Once you have done this click on the save button and the Backup Companies screen will open.

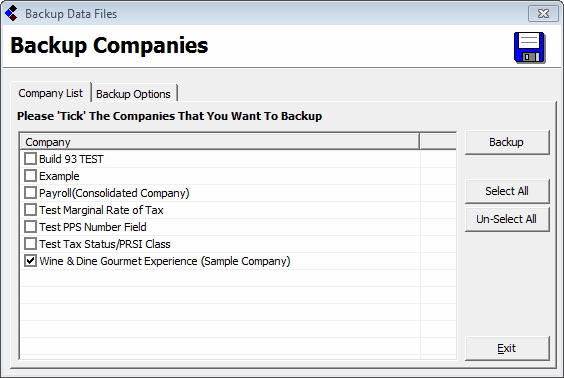
Backup Data: Select Companies to Backup
Here you can pick and choose the companies that you wish to backup. Only companies that are ticked will be included in the backup. When you have chosen which companies you wish to backup, hit the backup button and the backup will begin. When the backup process is completed you will receive the following message.

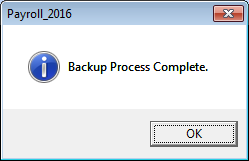
Backup Data: Backup Process Complete
Your backup file has been created and is located at the destination you selected to save it in. You can browse to that location to double check that it has been created and is present. The file name will be “Payroll 20XX Backup Made on Date at Time.bkz” unless you changed it to something different, in which case it will have whatever name you gave it.
Payroll is pre-set to select all companies for back up. The file name default is “Payroll 20XX Backup Made on 01 Jan 20XX at 12.00.bkz” or whatever the time and date you do the backup happens to be. You can change this to any name you wish, but it is advisable to leave the file name as is, because it will make it easier to identify the most recent backup, if needed.
To create a backup, click on the backup button on the main task bar and the following screen will be displayed.
Backup Data: Select Location to Save Backup
Firstly you need to select the location that you would like to save your backup to, by browsing to the location in the Backup Destination screen, as shown above. Once you have done this click on the save button and the Backup Companies screen will open.
Backup Data: Select Companies to Backup
Here you can pick and choose the companies that you wish to backup. Only companies that are ticked will be included in the backup. When you have chosen which companies you wish to backup, hit the backup button and the backup will begin. When the backup process is completed you will receive the following message.
Backup Data: Backup Process Complete
Your backup file has been created and is located at the destination you selected to save it in. You can browse to that location to double check that it has been created and is present. The file name will be “Payroll 20XX Backup Made on Date at Time.bkz” unless you changed it to something different, in which case it will have whatever name you gave it.
| Files | ||
|---|---|---|
| Backup Companies.png | ||
| Backup Complete.png | ||
| Backup Files.png | ||

 Get help for this page
